
Tools & Materials
The following tools and materials are required to complete this procedure:
- Screwdriver set (Phillips)
- ANSI Allen Keys
- Replacement liquid line tubing
- P-287 Idex Super flangeless fittings
- P-259 steel compression rings and ferrules
- Pliers
- Labeling materials (if transferring labels)
- Wear appropriate personal protective equipment (PPE) such as gloves and safety glasses.
- Follow manufacturer guidelines for handling hazardous materials.
Procedure
- Remove all liquid from the liquid line
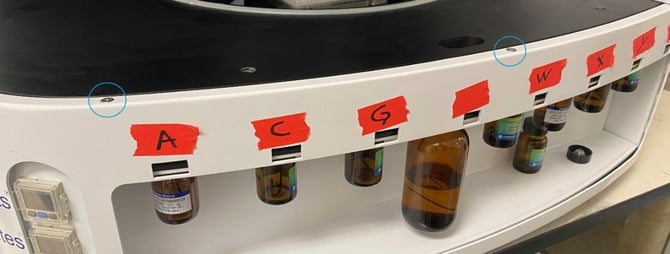
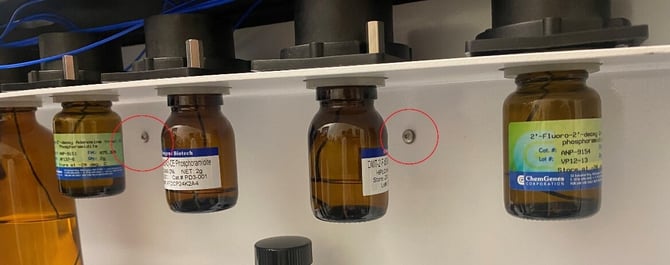
- Place an empty bottle on the troublesome position.
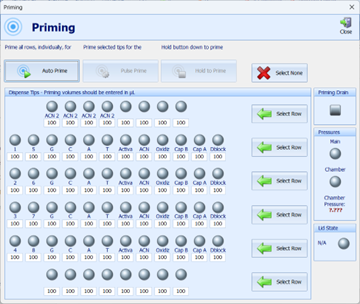
- Access the priming screen in the software and prime all liquid out of the line
- Depressurize the instrument
- Turn the ball valve for Amidite pressure to the off position
- Depressurize the instrument by removing the bottle from the troublesome location
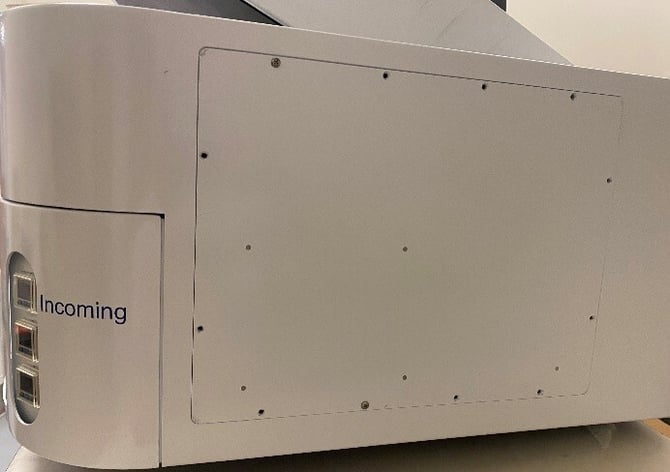
- Remove the Front Rack Sheet Metal
- Remove screws from the top of the front bottle rack sheet metal.
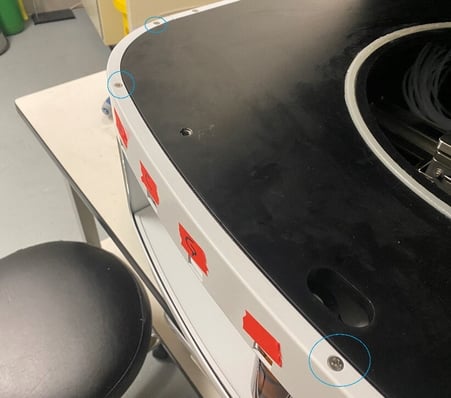
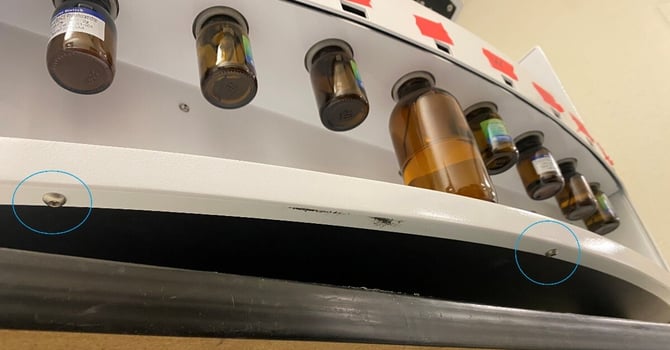
- Remove screws along the underside of the front bottle rack.
- Attempt to gently pull the sheet metal off.
Note: If stuck (especially on the right side), proceed to Step 4 to access hidden screws. Otherwise proceed to step 5
- Remove screws from the top of the front bottle rack sheet metal.
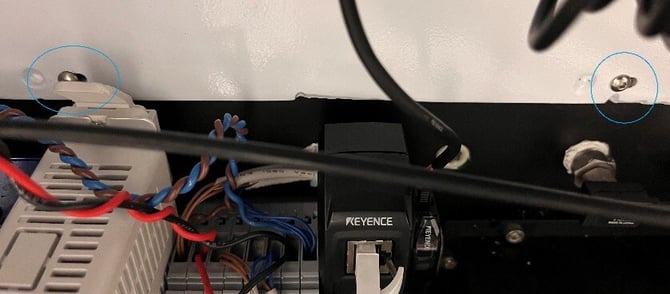
- Access Hidden Screws (if needed)
- Remove the side panel covering the electrical enclosure.
- Identify and remove up to 3 screws securing the interior sheet metal to the chamber.
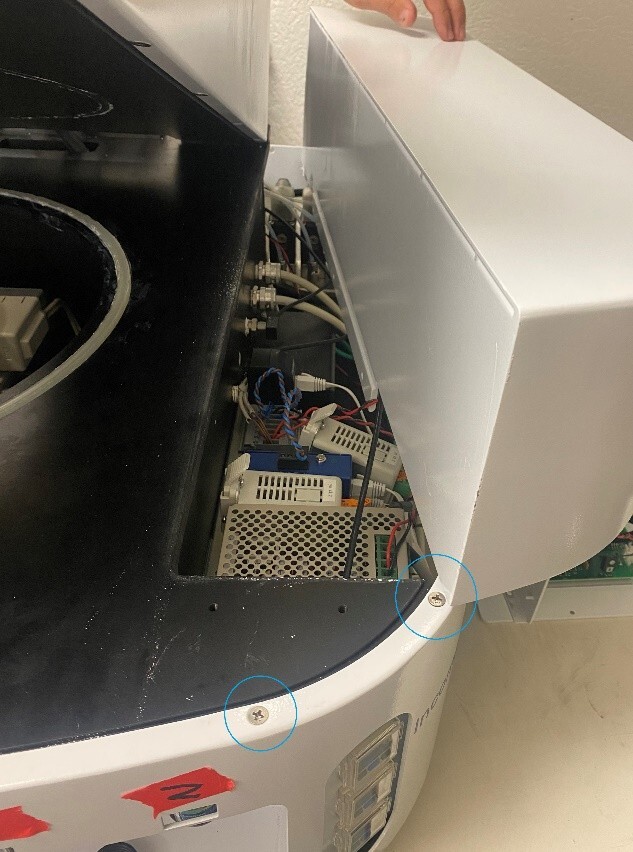
- Remove screws along the top and underside of the back panel and side sections.

- Gently remove the side/back sheet metal panel to expose the remaining hidden screws.
- Remove the side panel covering the electrical enclosure.
- Remove Bottle Rack
- Remove the front cover completely.
- Remove bottles to access mounting screws.
- Unscrew and gently pull the bottle rack away, setting it on a table for support.
- Remove the front cover completely.
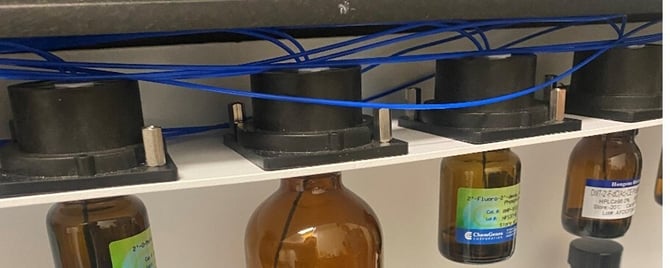
- Identify and Remove Liquid Line
- Locate the liquid line for the position you are troubleshooting
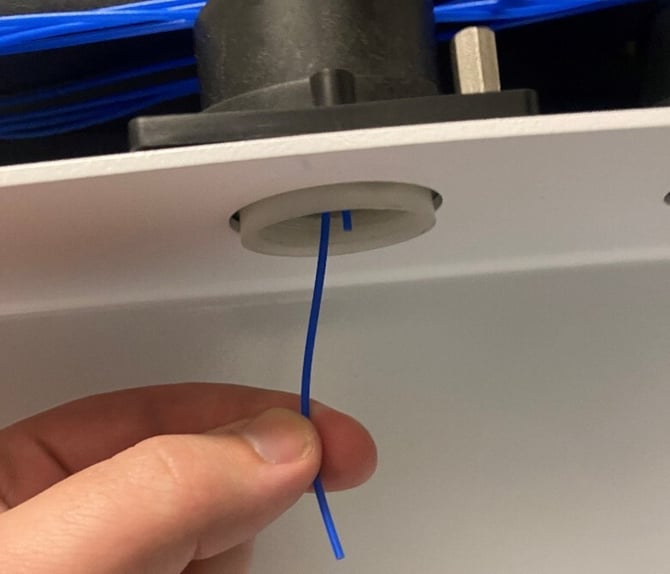
- Pull the liquid line out from the top of the receptacle.
- Trace and Remove Liquid Line
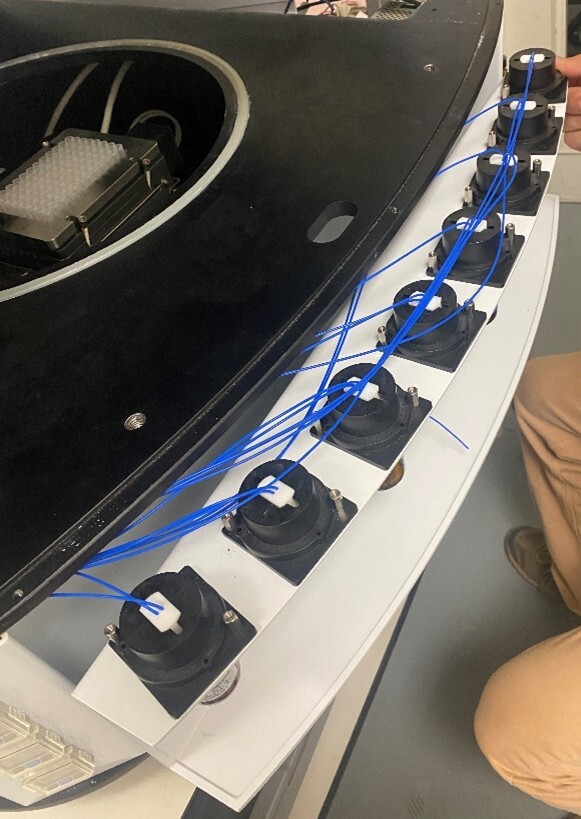
- Open side panel covering fluid pathways.
- Trace liquid line to Y connector.
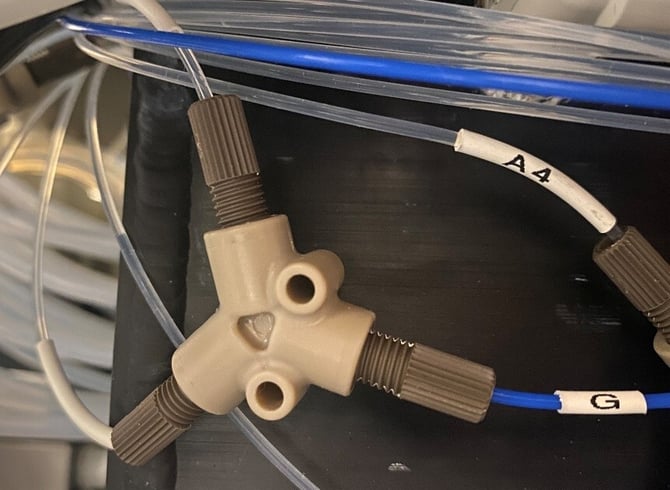
- Remove all affected lines from Y fitting, dispense valves, and tips.
- Cut and prepare new tubing to match original lengths.
- Transfer any labels, if possible.
- Prepare New Tubing Ends
- Slide nut, compression ring, and ferrule onto tubing (in that order).
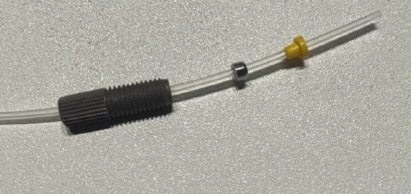
- Flattened side of ring should face nut; narrow side of ferrule toward ring.
- Use Y fitting or Peek union to seal ferrule/compression ring onto tubing.
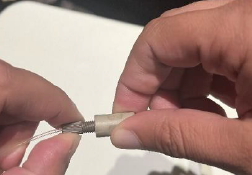
- Slide nut, compression ring, and ferrule onto tubing (in that order).
- Reinsert Tubing into Bottle Cap
- Stretch the tubing end by looping around finger and pulling with pliers.
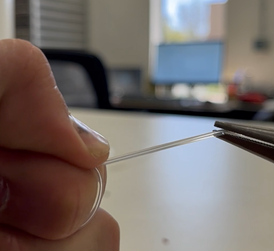
- Trim the flattened tip and feed stretched section through cap hole.
- Pull tubing through to bottle side using pliers.
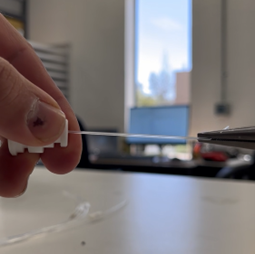
- Ensure enough tubing reaches bottle bottom, trim excess length.
- Stretch the tubing end by looping around finger and pulling with pliers.
- Final Connections
- Connect all new lines to appropriate dispense tips, valves and Y fitting
- Reassembly
- Reassemble sheet metal panels in reverse order of disassembly
- Validation & Testing
- Turn on the equipment if it is not on already
- Place a bottle with liquid on the position corresponding to the line that was just replaced if not done already.
- Pressurize the amidite bottles again by turning the ball valve to the on position.
- Verify there are no leaks at any of the connection points for the line that was just replaced. (It might be helpful to leave side panels off)
- Open the Software and access the Priming Menu
- Select the valve that corresponds to the amidite line that was just replaced
- Prime the valve and verify that the liquid is injecting into the waste tray
- Again verify no leaks at any connection points.