
Tools Needed
-
Wrenches for fittings (typically 8mm)
-
Labels or markers (to identify lines if needed)
Warnings
-
Always turn off Argon pressure before beginning.
- DO NOT turn off compressor Pressure
-
Check for leaks before walking away from the instrument. Refer to K&A -Troubleshooting Gas Leaks if a leak is suspected
Step-by-Step Instructions
- Purge the Current Bottle Cap Line of any liquid
- This can be done in the manual control screen of the software. This will ensure that no liquid spill will occur upon removal.

- This can be done in the manual control screen of the software. This will ensure that no liquid spill will occur upon removal.
-
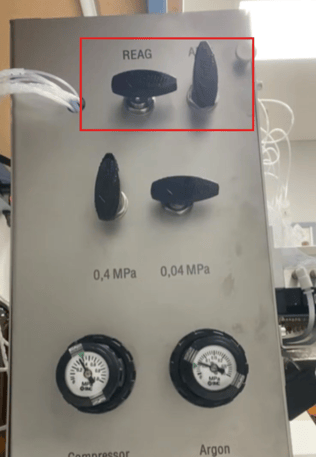
Turn Off Argon
-
Make sure the argon gas pressure to the bottle positions of interest t is completely off before going further
-
- Remove the Gas for the current Bottle Cap
(if adding a bottle cap to an unused position skip to STEP 6)
- Trace the lines from the current bottle cap to the gas manifold. Using the 8mm wrench remove the fitting at the gas manifold.
- You may have to remove zip ties if the gas line is bundled with other lines.
- Remove the liquid fitting
- Remove the liquid fitting for the current bottle cap from the main liquid delivery manifold. The labels can be used to help identify which cap will be removed. Using the small wrench will assist in the fitting removal.
- Remove the liquid fitting for the current bottle cap from the main liquid delivery manifold. The labels can be used to help identify which cap will be removed. Using the small wrench will assist in the fitting removal.
-
Remove the current bottle cap
-
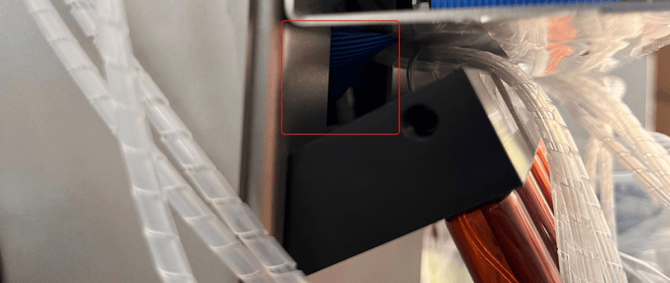
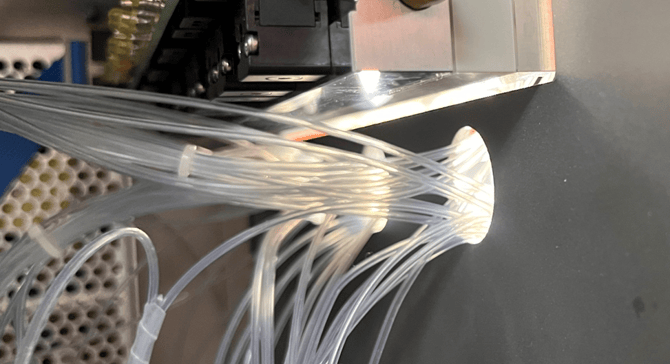
Feed both the liquid and gas lines for the cap you're removing through the slot at the bottom front of the instrument’s sheet metal if it. The current bottle cap should now be removed
-
-
Connect the New Bottle Cap
- Route the new bottle cap liquid and gas lines through the same sheet metal cutouts as shown in the steps above
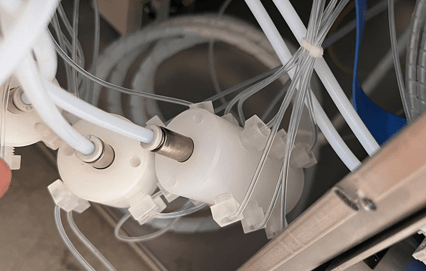
- Connect the Gas Line
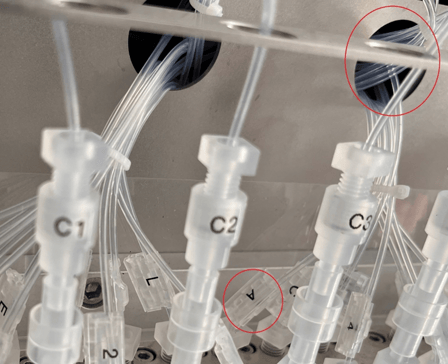
- Identify the gas line (Often times does not have a label) and connect it to any open port on the gas manifold.

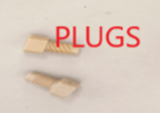
- You may need to remove a plug from an unused port if you are installing a bottle cap position that has not been used before.
- 💡 Tip: One gas manifold is usually for reagents; the others are for amidites.
- Identify the gas line (Often times does not have a label) and connect it to any open port on the gas manifold.
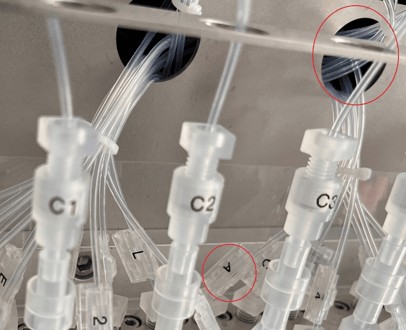
- Connect the Liquid Line
-
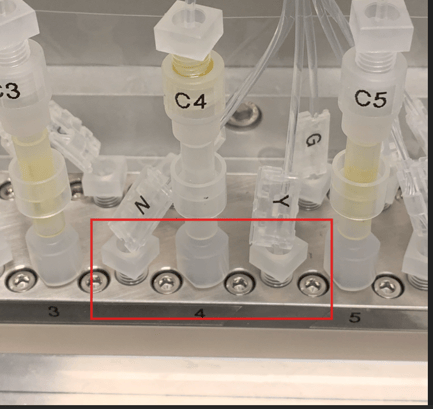
Pull the liquid line (the one with the label) through the hole that’s closest to the matching position on the main manifold.
-
-
Tighten the Liquid Fitting
- Attach the liquid line to the correct manifold port and tighten it securely with wrench to prevent leaks.
-
Re-Pressurize the System
-
Turn the argon pressure back on.
-
-
Check for Leaks
-
Place liquid in the bottle and give the instrument 1 to 2 minutes to pressure. Monitor the top of the fittings and manifold to make sure there are no visible leaks.
-
✅ Final Check
-
✅ Gas and liquid lines are secure
-
✅ No leaks present
-
✅ Bottle is pressurized and ready for use