
Setting up a new computer to control your Shasta synthesizer? This guide walks you through the full installation of the Shasta software — including network setup, software installation, and database configuration.
🧰 Tools & Requirements
-
Windows PC with admin access
-
Ethernet cable (for direct connection to the instrument)
-
Shasta installer (e.g.,
Shasta253.exe) -
Shasta_Factory_Settings_Backup.kbffile IPSUpdate100.exe(for pressure gauge IP configuration)-
Internet access (optional but helpful)
⚠️CAUTION
We recommend creating a backup of your current settings if you're moving from one computer to another. Here is an article on how to perform a backup or restore: How to Perform a Backup or Restore on the Synthesizer Software
🛠️ Step-by-Step Installation Instructions
1. Set Up Network Communication
If you are installing this software on a computer for simulation reasons and it will not be connected to an instrument this step can be skipped and you can proceed to 2. Install the Software.
To enable communication between the PC and synthesizer:
-
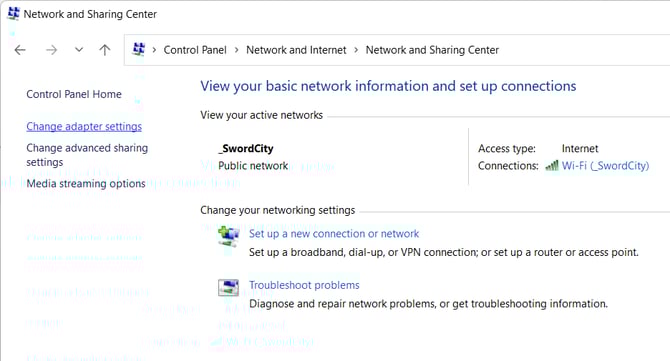
Open Control Panel > Network and Sharing Center
-
Click Change adapter settings
-
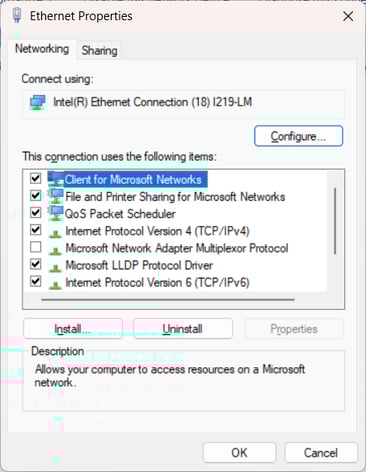
Right-click your Ethernet adapter > Properties
-
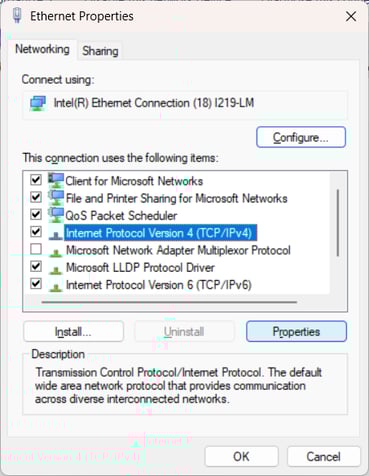
Select Internet Protocol Version 4 (TCP/IPv4) > Properties
-
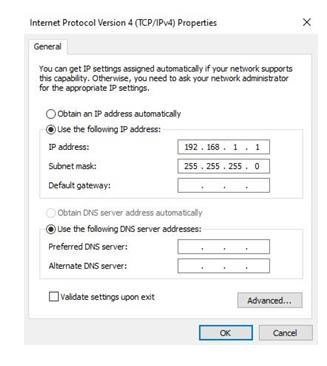
Enter the following:
-
IP Address:
192.168.1.1 -
Subnet Mask:
255.255.255.0 -
Leave all other fields blank
-
-
Click OK
📘 For more detail: How to Set up Network Communication
2. Install the Software
-
Make sure the synthesizer is powered on and connected via Ethernet
-
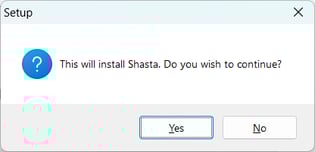
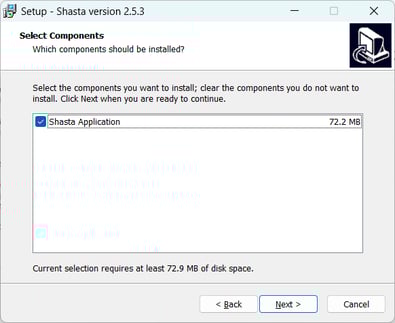
Run the
Shasta253.exe( or latest )installer -
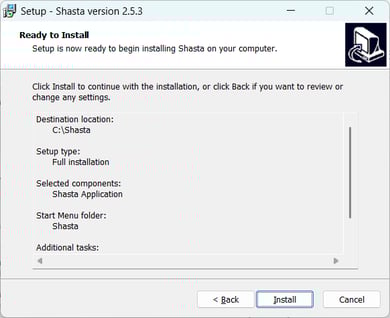
Proceed through the install wizard
-
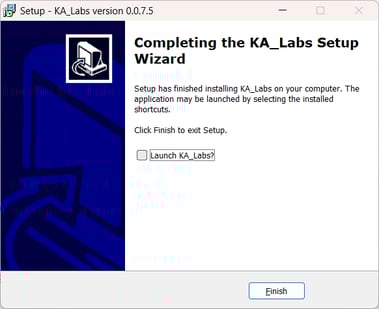
Uncheck the box to launch KA Labs after installation
3. Configure the Database
-
Launch the updated Shasta software
-
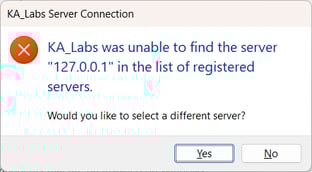
You’ll see a prompt to select a different server
-
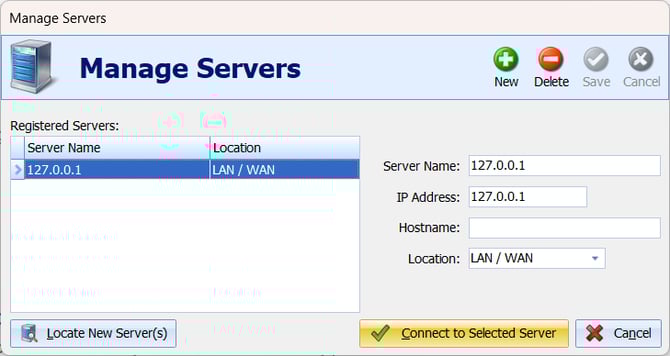
Click Locate New Server(s)

-
Click the green plus icon to add a new server
-
Enter the following:
-
Server Name:
127.0.0.1 -
IP Address:
127.0.0.1 -
Hostname: Leave blank
-
Location: Select LAN / WAN
-
-
Click Connect to Selected Server
-
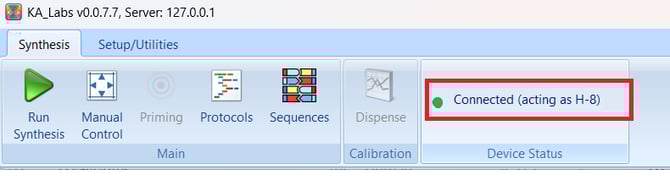
A green light in the control panel confirms successful connection
4. Restore Settings
-
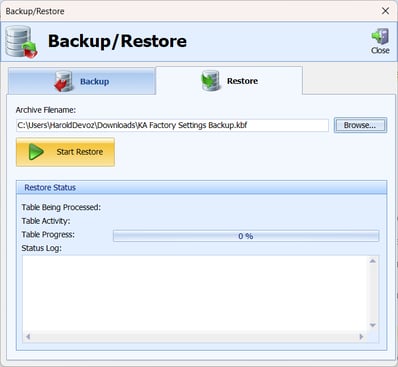
In the software, go to Setup/Utilities > Backup/Restore

-
Click Restore
-
Browse for and select
WARNING! If restoring settings from another instrument ensure the settings are compatible!Shasta Factory Settings 032825 (v2.4.5).kbffor Factory settings or Select another Backup file if you already have one in your possession.
-
Complete the restore process
✅ The software is now ready to use.
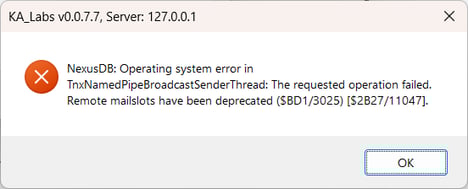
🧯 Server Connection Troubleshooting
If the software can’t connect to the server:
-
Press
Win + R, typeservices.msc, and press Enter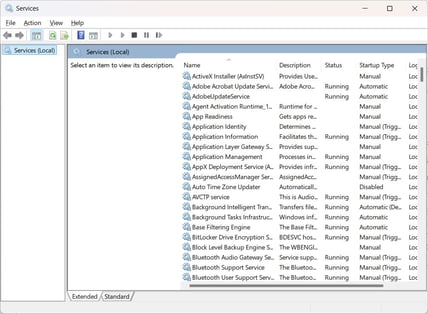
-
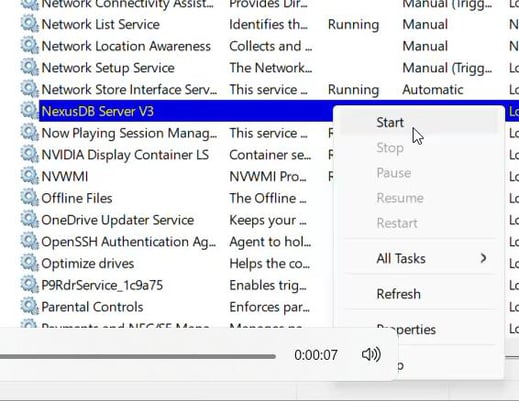
Locate NexusDB Server V3

-
If not running, right-click > Start
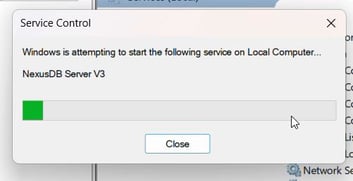
- Attempt to run Shasta Software again
Still not working?
-
Stop the NexusDB service by following the steps above
-
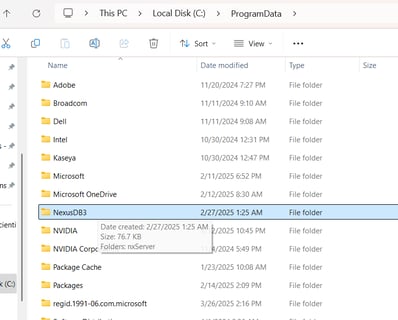
Navigate to
C:\ProgramData(you may need to show hidden files) -
Delete the NexusDB3 folder
-
Restart the NexusDB Server and try again